

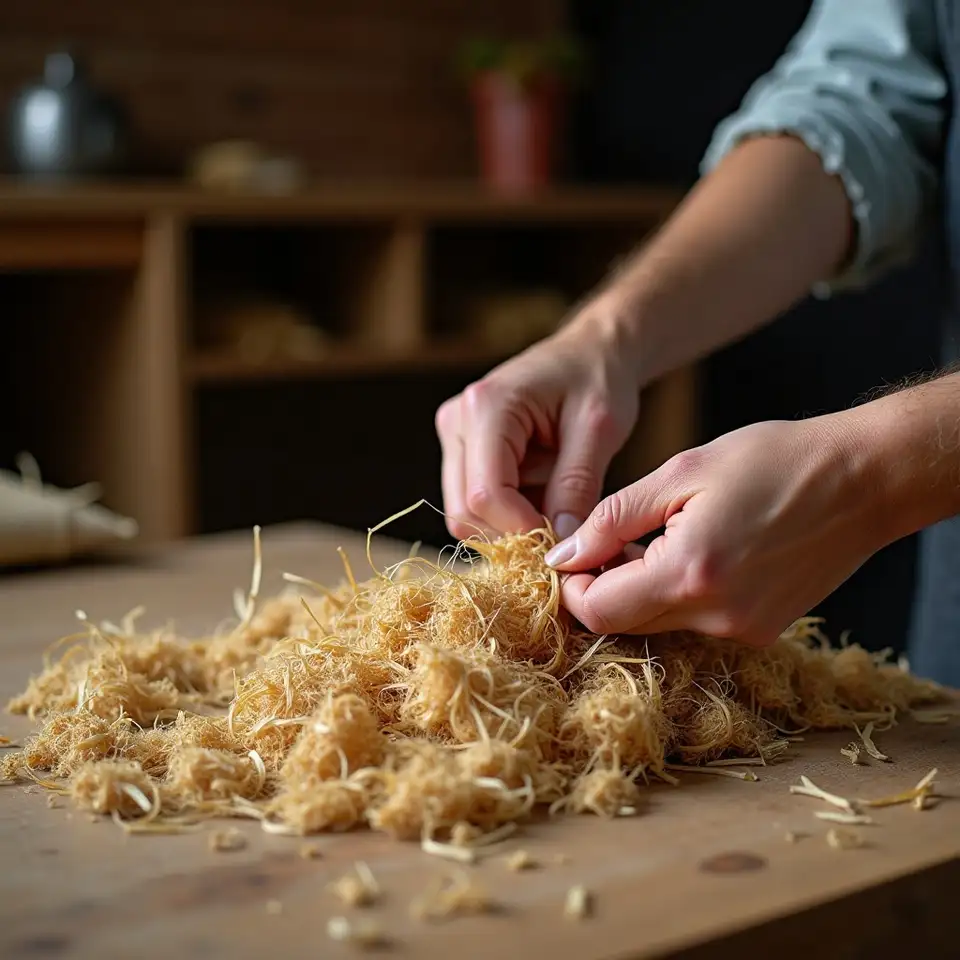

Coconut husk rope is simply coir fiber twisted by hand into cord. We will show you how to source husks, prepare the fiber, and twist your first length — no tools beyond a bucket and your own two hands.
See techniques
Dried coconut husk fiber ready for rope making
Step 1

Find your husk

Fresh coconut husks are thick, wet, and full of pith. We look for mature brown shells that have already dried in the sun — the fiber separates more cleanly and smells like salt and soil rather than sour sap.

Coconut husks soaking in water for fiber retting
Step 2

Soak and separate

Retting is the process of soaking husks in fresh or salt water to loosen the fibers. We submerge them for two to four weeks, checking weekly until the strands pull apart without tearing — patience here determines rope strength later.
Hands combing dried coir fibers to sort quality strands
Step 3

Dry and comb

Once retted, fibers must dry completely in shade with good airflow. We then comb them with a blunt fork or our fingers to remove short, brittle pieces — keeping only the long, flexible strands that twist evenly under tension.
Thigh rolling technique for twisting coconut husk rope
Step 4

Twist by thigh

The thigh-roll method anchors one end against your leg while your hands twist the other. We teach a simple two-ply reverse wrap — clockwise on one strand, counter on the other — so the rope locks itself together as you work.
Start twisting

Your first rope session

Gather three to five husks

Submerge and wait

Rinse and dry in shade

Sort by length and texture

Anchor and twist two strands

Splice in new fiber as you go

Common beginner hurdles

What we wish we had known before our first tangle — practical guidance for smoother fiber and straighter rope.

Do not rush the retting

Under-retted husks fight back. The pith clings, fibers tear, and your rope ends up lumpy and weak. We learned to wait until a gentle pull separates strands cleanly — that patience pays off in every meter twisted.

Keep tension even

Uneven pull creates kinks and weak spots. We rest our elbows on our knees, breathe steadily, and let the thigh do the rolling while fingers guide — not force — the twist into place.

Work in small batches

A full husk yields more fiber than you expect. We prepare only what we can twist in one sitting since damp fiber molds if left bundled overnight — better to rett more later than lose a whole harvest.

Embrace the irregular

Hand-twisted rope is not machine-perfect. Slight variation in thickness is the signature of the maker, and we have learned that a rope with character holds just as well as one spun in a factory.

Beginner questions

Start today
We began with a single husk and no instruction manual — just curiosity and a willingness to tangle. Three years later, we have mapped every shortcut and dead end so you can skip straight to the satisfying part: watching fiber become rope under your own hands.
Step-by-step photo guides for every stage from husk to finished cord
Troubleshooting tips for common tangles and weak joins
Community feedback on your first attempts from makers across Australia

Cookie notice

We use cookies to understand how you navigate our site and to improve your experience. You can accept or decline this tracking at any time.
Read our policy