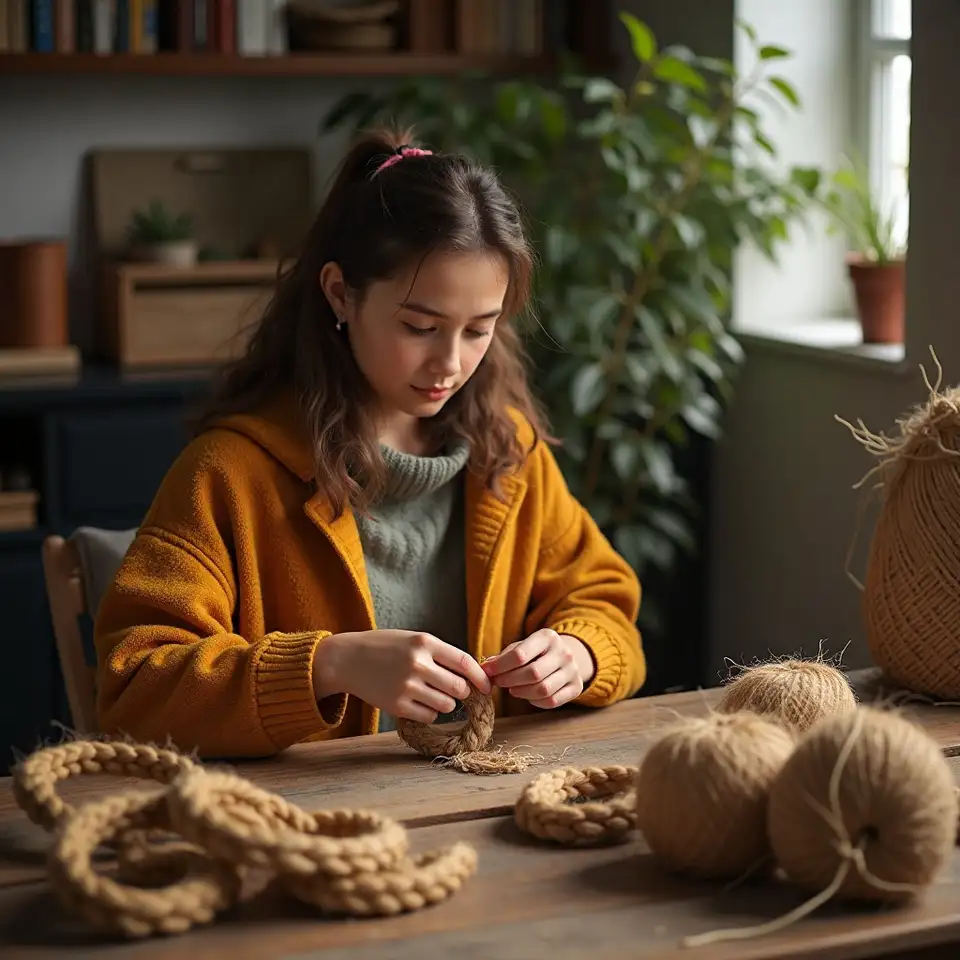
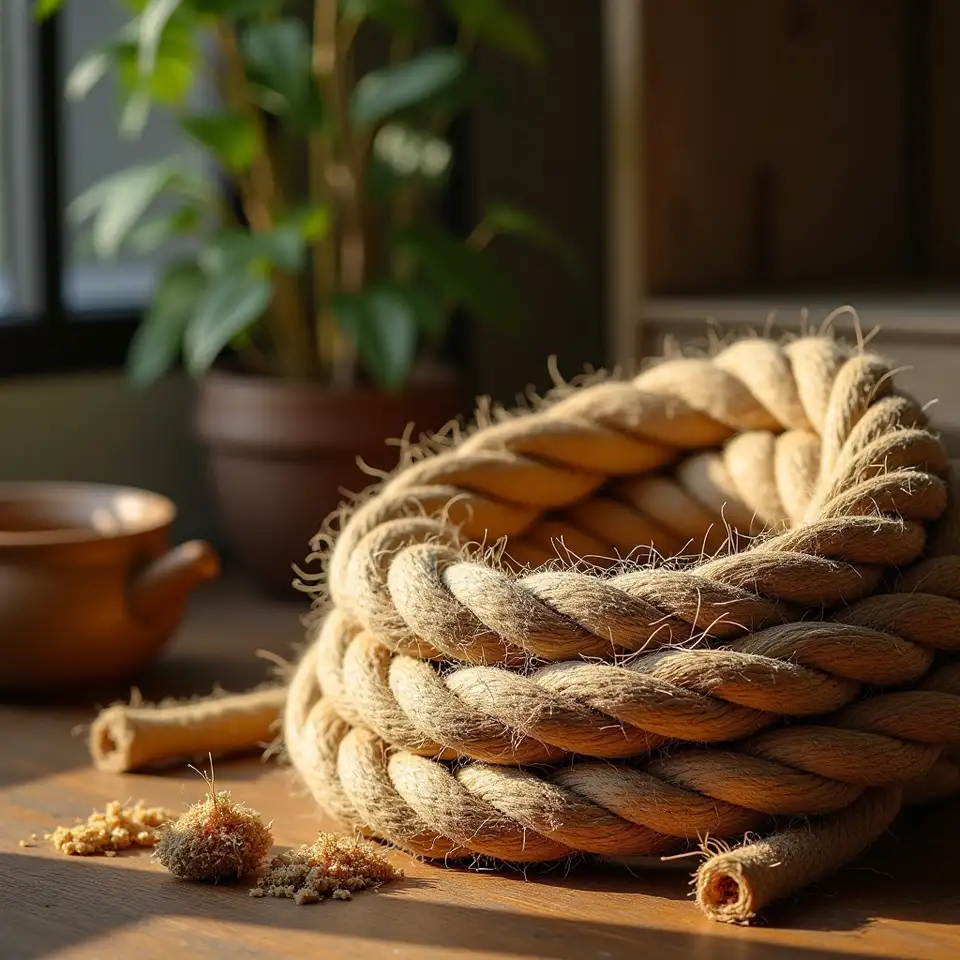
Close up of hand twisted coconut husk rope

Techniques that turn fiber into rope

Coconut husk rope crafting is the practice of extracting coir fiber from mature coconut shells, preparing it through retting and drying, and twisting it by hand into durable cord. We teach the full progression from raw husk to finished rope — no machines, no shortcuts, just the motions that coastal communities have used for generations adapted to your kitchen table or garden shed.

12

Core techniques

8

Skill levels

From first twist to decorative knot

Every maker starts with uneven twist and tangled fiber. We map the bridge between that first attempt and confident splicing, showing the exact hand positions and tension adjustments that transform struggle into rhythm.
Hand twisting
Nautical knots
Natural dyeing
Multi-ply braids
Coconut husks soaking in water bucket
Basic

Fiber extraction

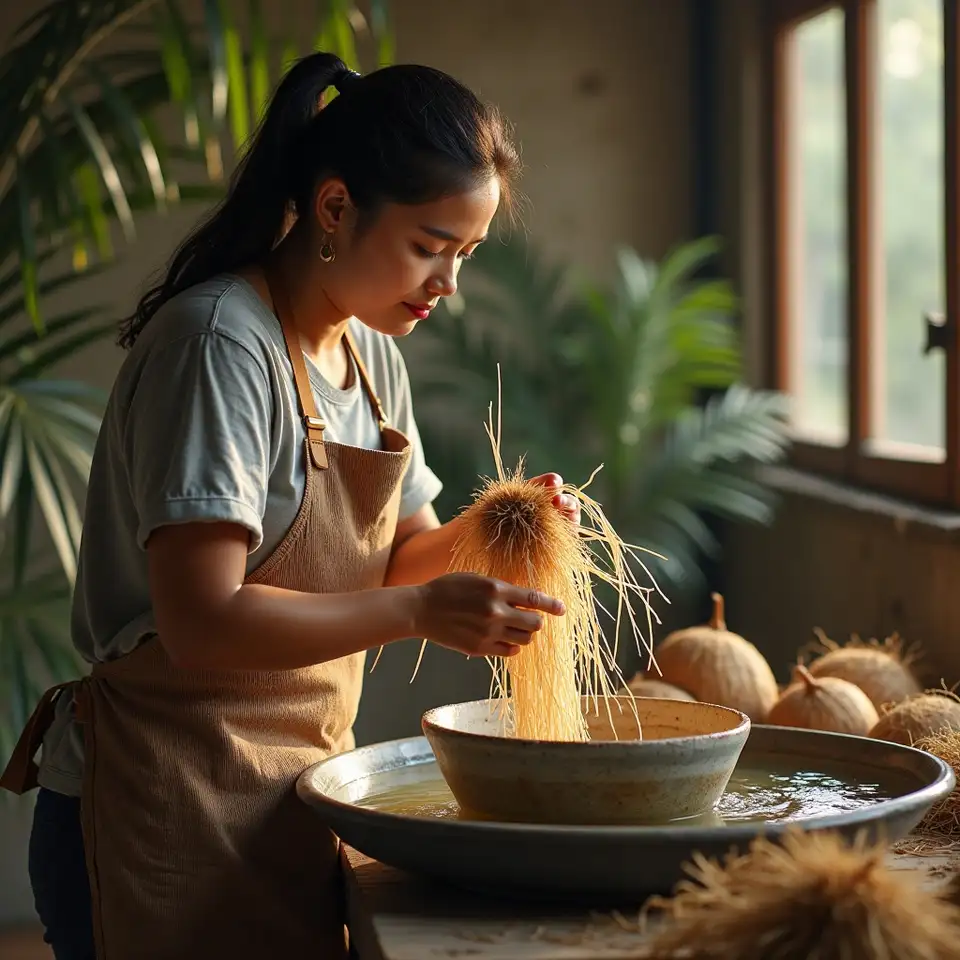
Retting is the controlled decomposition of coconut husk in water to loosen the fibrous layer from the hard shell and pith. We submerge mature brown husks for two to four weeks, checking weekly until fibers separate cleanly without tearing — the foundation of all rope quality.
Thigh rolling technique for rope twisting
Basic

Twisting methods

The thigh-roll anchors one fiber bundle against your leg while palms roll the strands in opposite directions. Clockwise on one bundle, counter-clockwise on the other — when released, natural torque wraps them into a self-locking two-ply rope that holds without glue or knots.

Splicing coir rope fibers together
Intermediate

Splicing and finishing

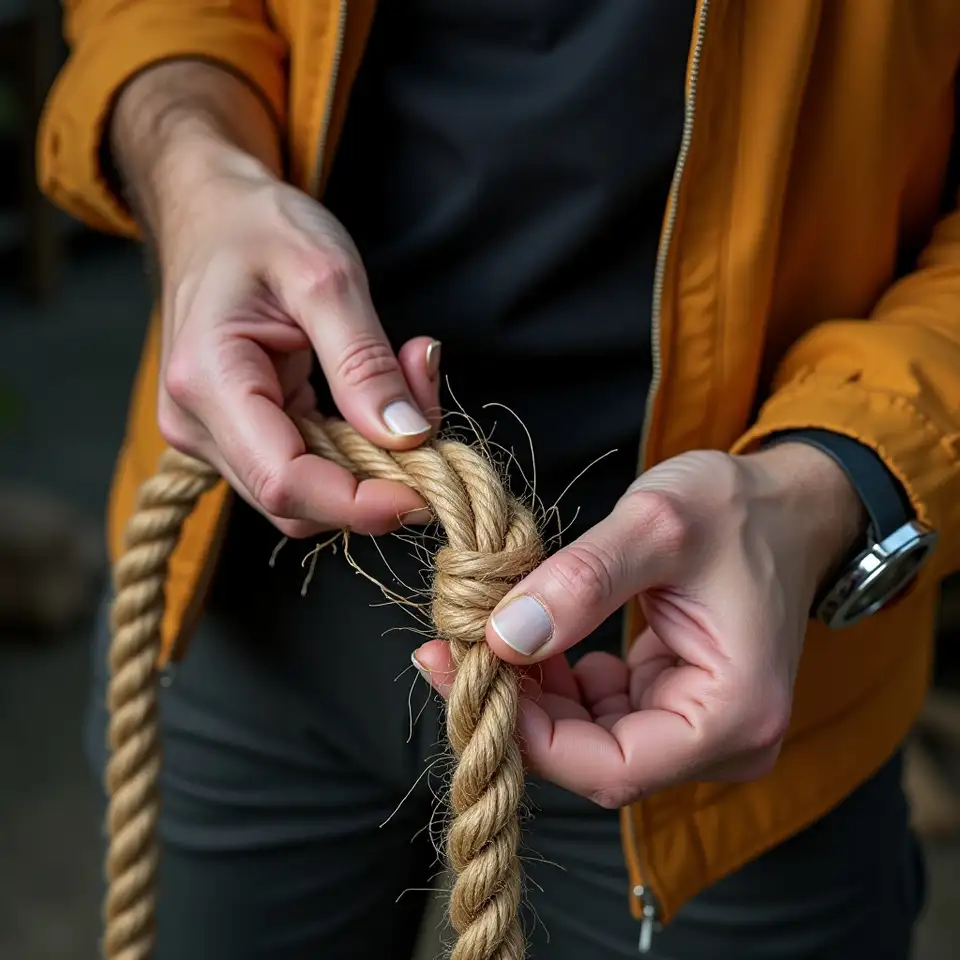
Splicing joins new fiber into an ongoing rope without bulky knots by overlapping strands and continuing the twist. Whipping finishes rope ends by wrapping thin fiber around the tip to prevent unraveling — both techniques require steady tension and calm attention.

Three ply braided coconut husk rope
Advanced

Multi-ply braids

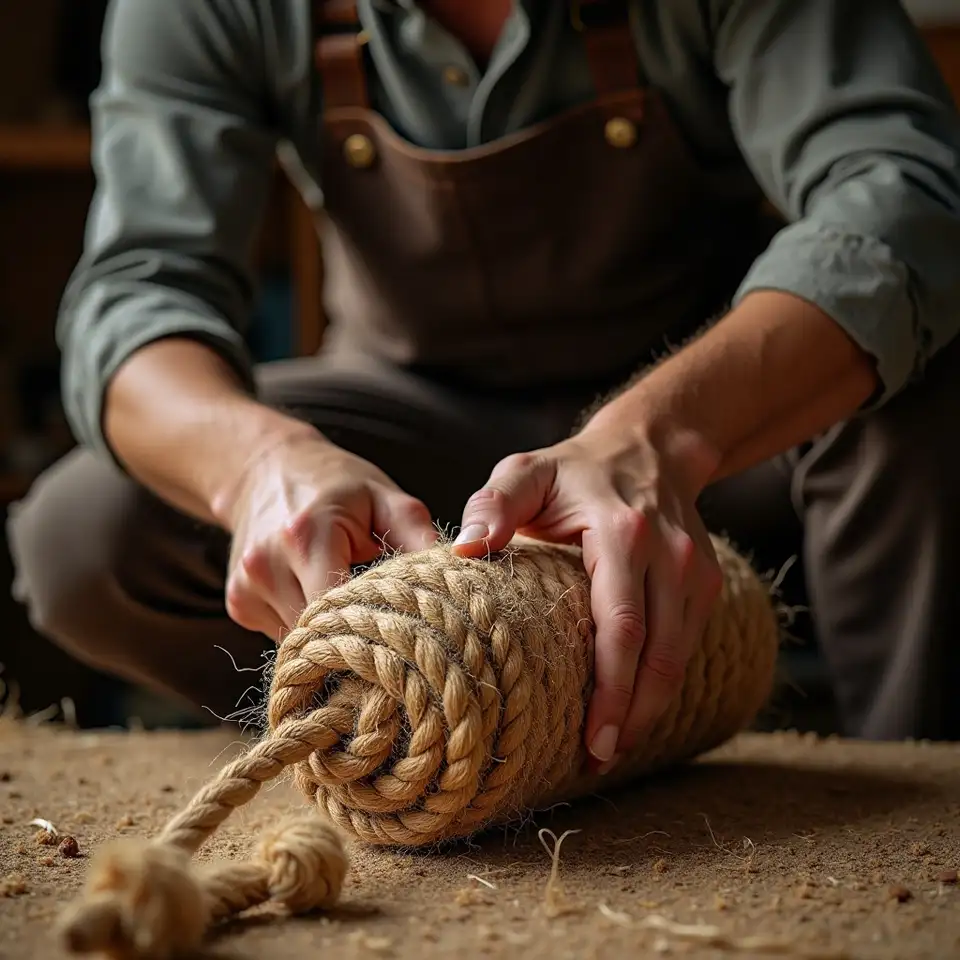
Three-ply round braiding adds a third strand twisted in alternating directions, creating rope with greater strength and symmetrical appearance. Decorative flat braids and complex plaiting patterns build on this foundation for wall hangings and functional art pieces.

Tropical coconut palms for rope crafting

From husk to finished rope

The core sequence every maker masters — fiber extraction, twisting, splicing, and finishing — each step taught with attention to what your hands should feel and what your eyes should watch for.
Extract and prepare fiber

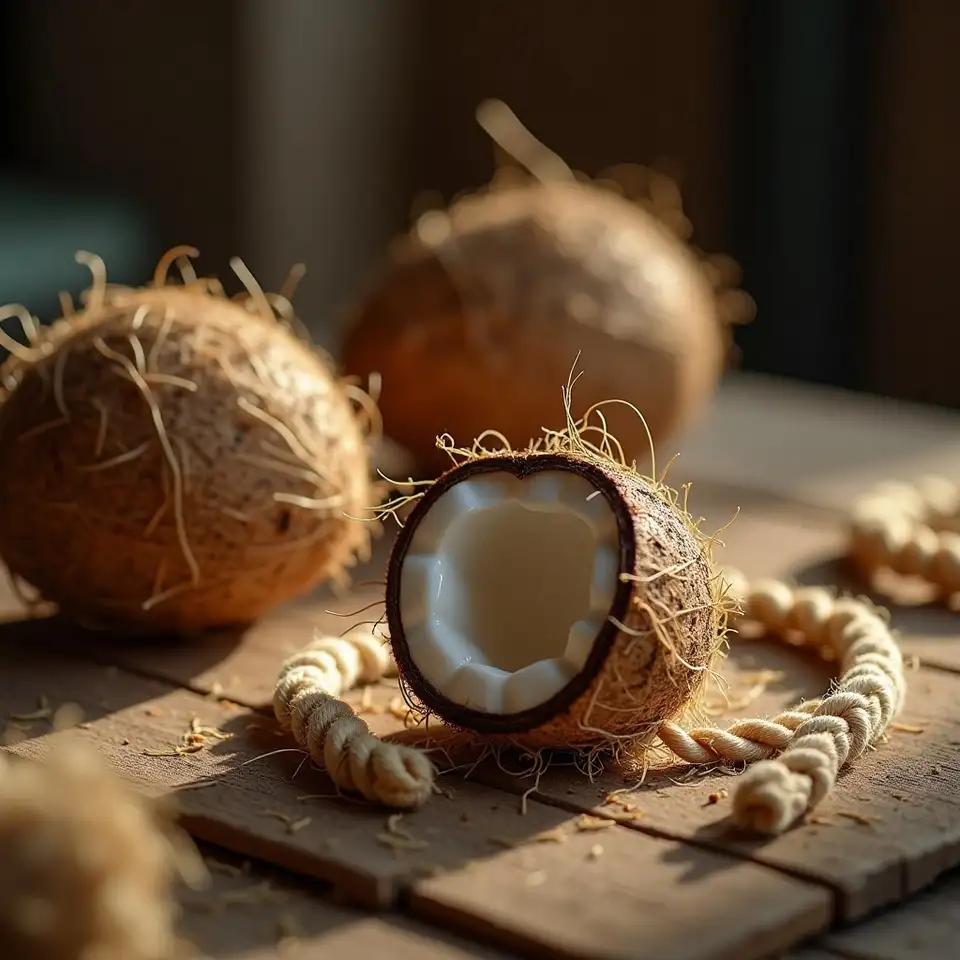
Mature brown husks are submerged in fresh or salt water for retting, then rinsed, shade-dried, and combed to remove brittle short pieces. Only long flexible strands are kept — they twist evenly and hold tension without snapping mid-rope.
Two to four weeks retting, three to five days drying, one hour combing and sorting per husk.

Twist into two-ply rope

Bundles of prepared fiber are anchored and rolled between palm and thigh in opposing directions. The released torque naturally wraps strands together. We teach hand positioning that prevents wrist strain and maintains even tension across the full rope length.
Practice with pencil-thick rope first. One meter takes fifteen to twenty minutes once rhythm is established.

Splice, finish, and use

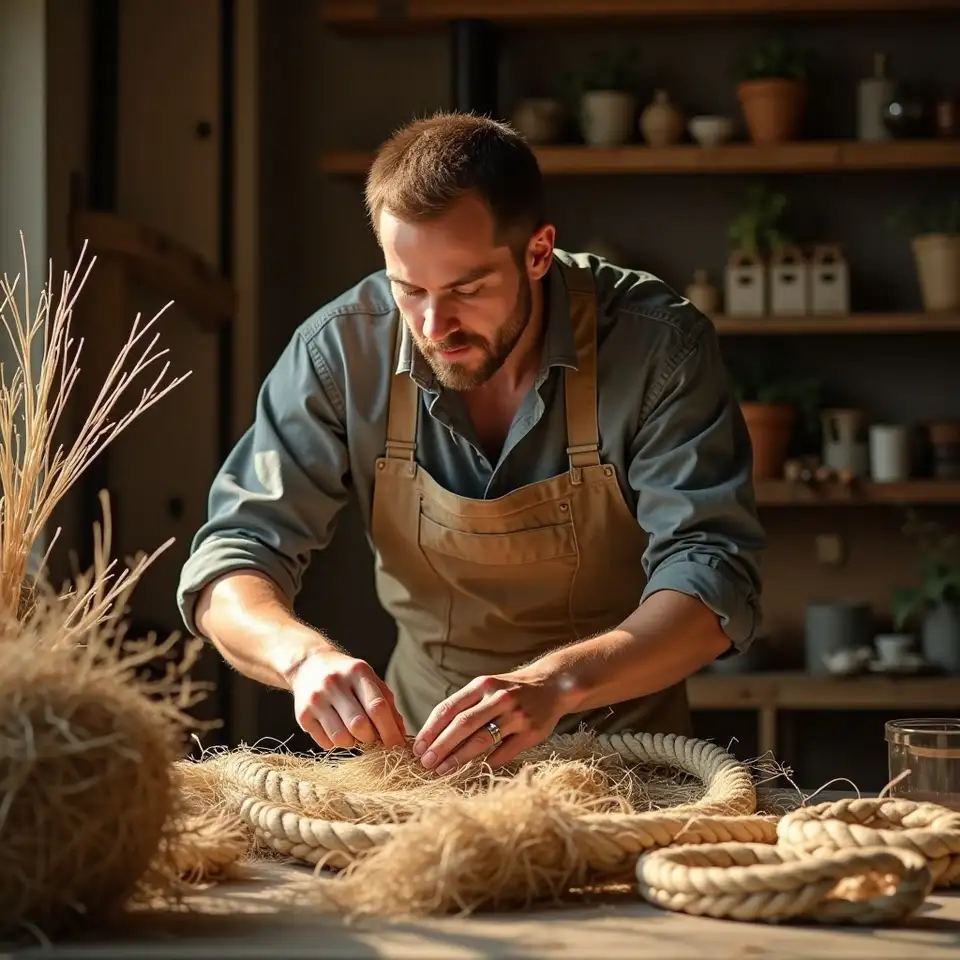
New fiber splices into ongoing rope by overlapping and continuing the twist. Ends are whipped with thin fiber wraps or sealed with decorative knots. The finished cord serves garden ties, plant hangers, nautical décor, or whatever purpose the maker imagines.
Splicing adds two minutes per join. Whipping takes five minutes per end. Finished rope lasts two to three years outdoors.

Advanced decorative techniques for committed makers

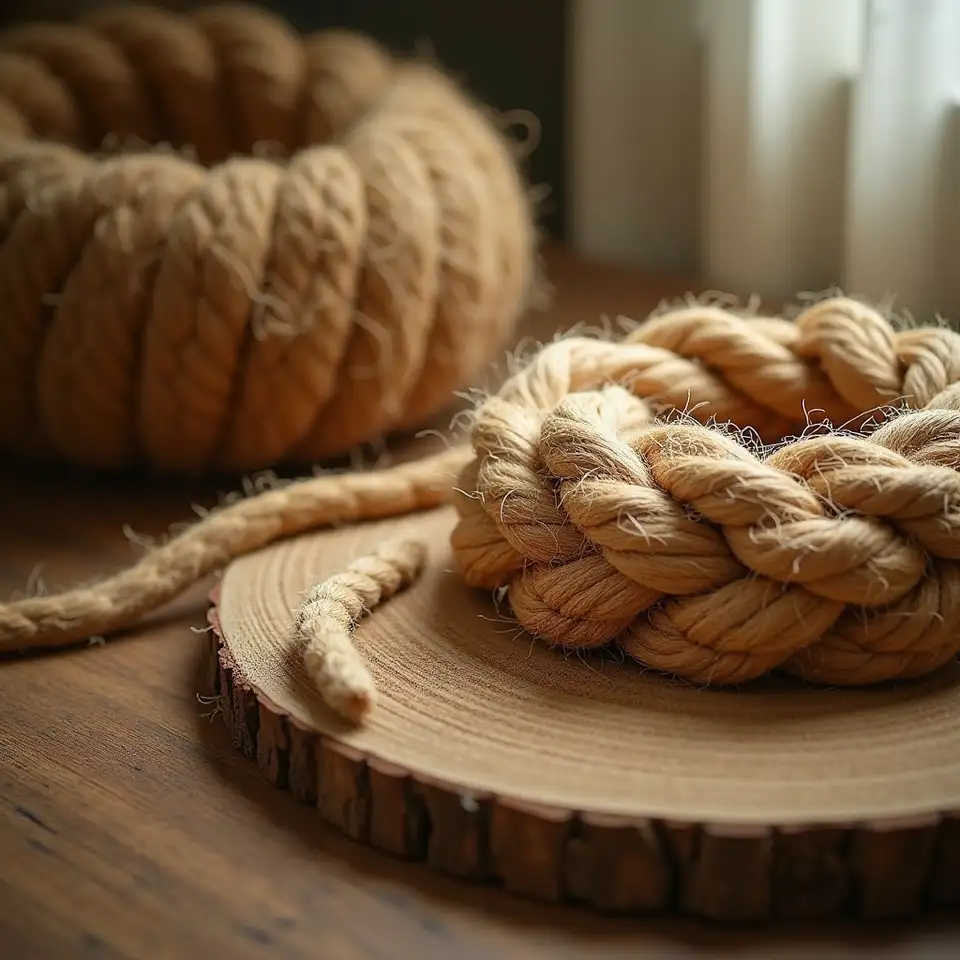
Once the basic twist becomes muscle memory, makers explore decorative knots, natural fiber dyeing with plant-based pigments, and combining coir with jute or cotton for textural contrast. These advanced methods require patience and experimentation — results vary with fiber batch, humidity, and hand tension. We document what we have learned, note what still surprises us, and invite makers to contribute their own discoveries.
View projects
Advanced decorative coir rope craft project

Expert guidance for better rope

Practical wisdom gathered from hundreds of meters twisted, tangled, and eventually mastered by our community of makers.

Retting patience pays off

Preparation

Under-retted husks produce brittle fiber that tears during twisting and creates weak, lumpy rope. We check by pulling a strand gently — when it separates from the husk without resistance, the fiber is ready. Rushing this step ruins more rope than any beginner mistake in twisting.

Check weekly Test fiber pull Wait for softness
Easy

Maintain even tension always

Twisting

Uneven pull creates kinks, thin spots, and rope that untwists itself. We rest elbows on knees for stability, breathe steadily, and let the thigh do the rolling while fingers guide rather than force the twist. Consistent tension matters more than speed.

Anchor properly Roll don't pull Check thickness
Medium

Splice before strands run out

Joining

Waiting until a bundle is nearly finished creates weak joins and visible bumps. We introduce new fiber when the old bundle still has ten centimeters remaining, overlapping strands and continuing the twist so the transition disappears into the rope structure.

Overlap strands Match fiber thickness Maintain twist direction
Medium

Store fiber dry and loose

Storage

Damp bundled fiber molds within days, ruining entire retting batches. We store prepared fiber in loose baskets with airflow, never sealed plastic. Before twisting, we lightly mist dry fiber with a spray bottle — just enough to reduce brittleness without encouraging decay.

Use breathable containers Avoid direct sun Mist before use
Easy
Explore our full technique library

Cookie notice

We use cookies to understand how you navigate our site and to improve your experience. You can accept or decline this tracking at any time.
Read our policy